RETAINING WALL CONSTRUCTION PROCESS
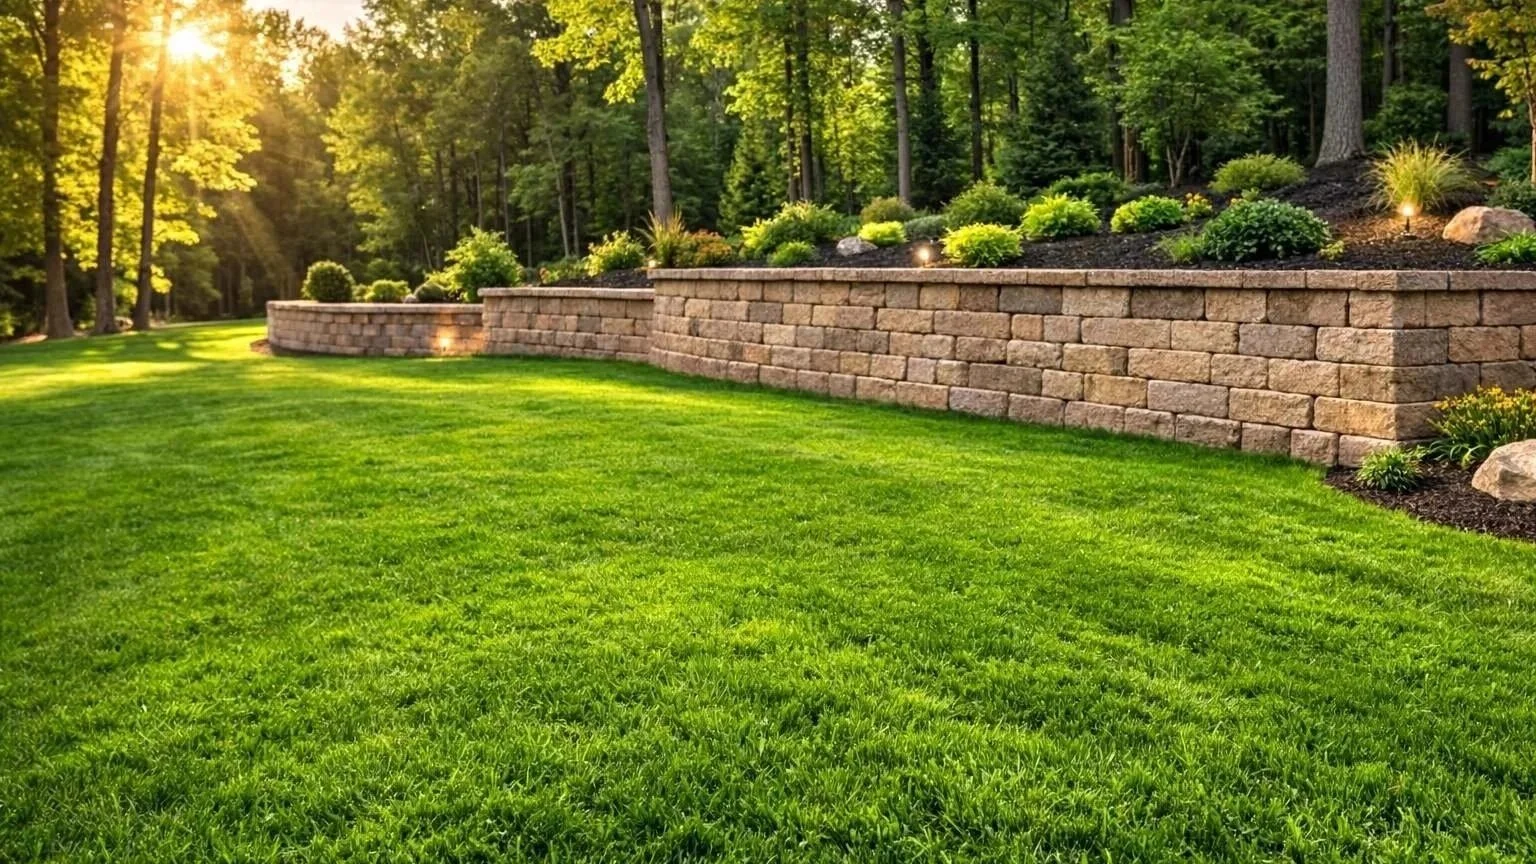
Why Proper Retaining Wall Construction Matters
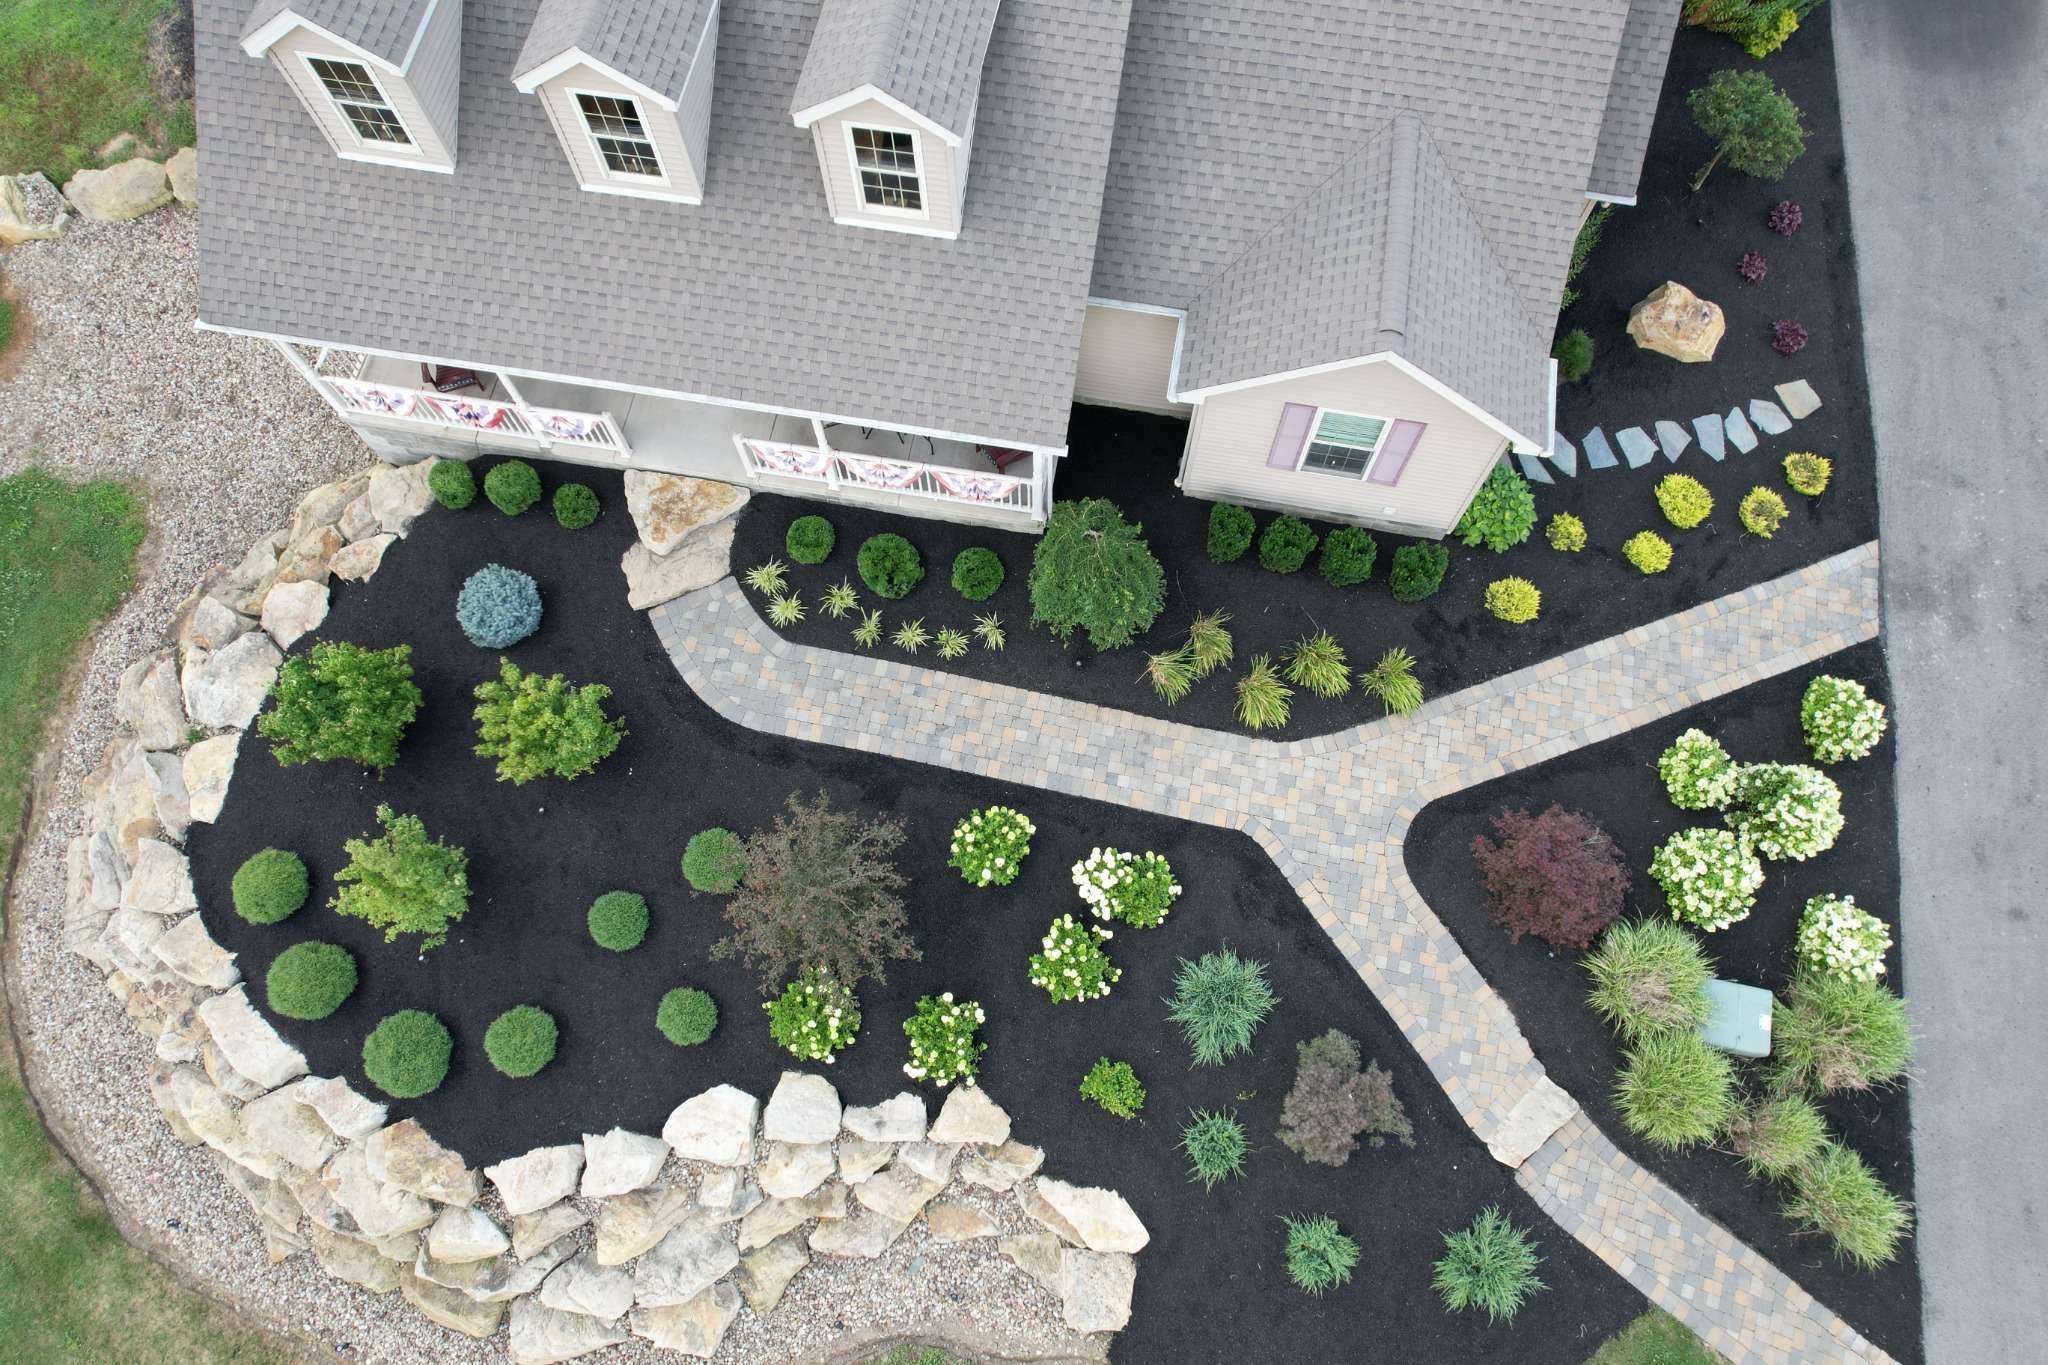
When it comes to retaining wall construction, proper engineering and installation are essential for long-term structural performance. With over 30 years of hands-on experience, Creative Landscape by Design has designed and installed retaining walls throughout Youngstown and the surrounding communities, including Mahoning, Trumbull, and Columbiana counties. Our experience has shown that proper excavation, base preparation, drainage, and reinforcement are critical to building a retaining wall that safely stabilizes sloped terrain while enhancing the appearance and usability of your landscape.
The purpose of this page is to walk you through the professional retaining wall construction process used by Creative Landscape by Design. From excavation and base preparation to installing engineered wall systems with proper drainage aggregate and geogrid reinforcement when required, each step is completed with precision and attention to detail. We commonly install high-quality retaining wall systems from trusted manufacturers such as Unilock, Techo-Bloc, and Lampus to ensure durable construction that prevents soil erosion, manages elevation changes, and creates functional outdoor spaces for patios, walkways, planting beds, and lawn areas.
Phases of Constructing a New Retaining Wall Project
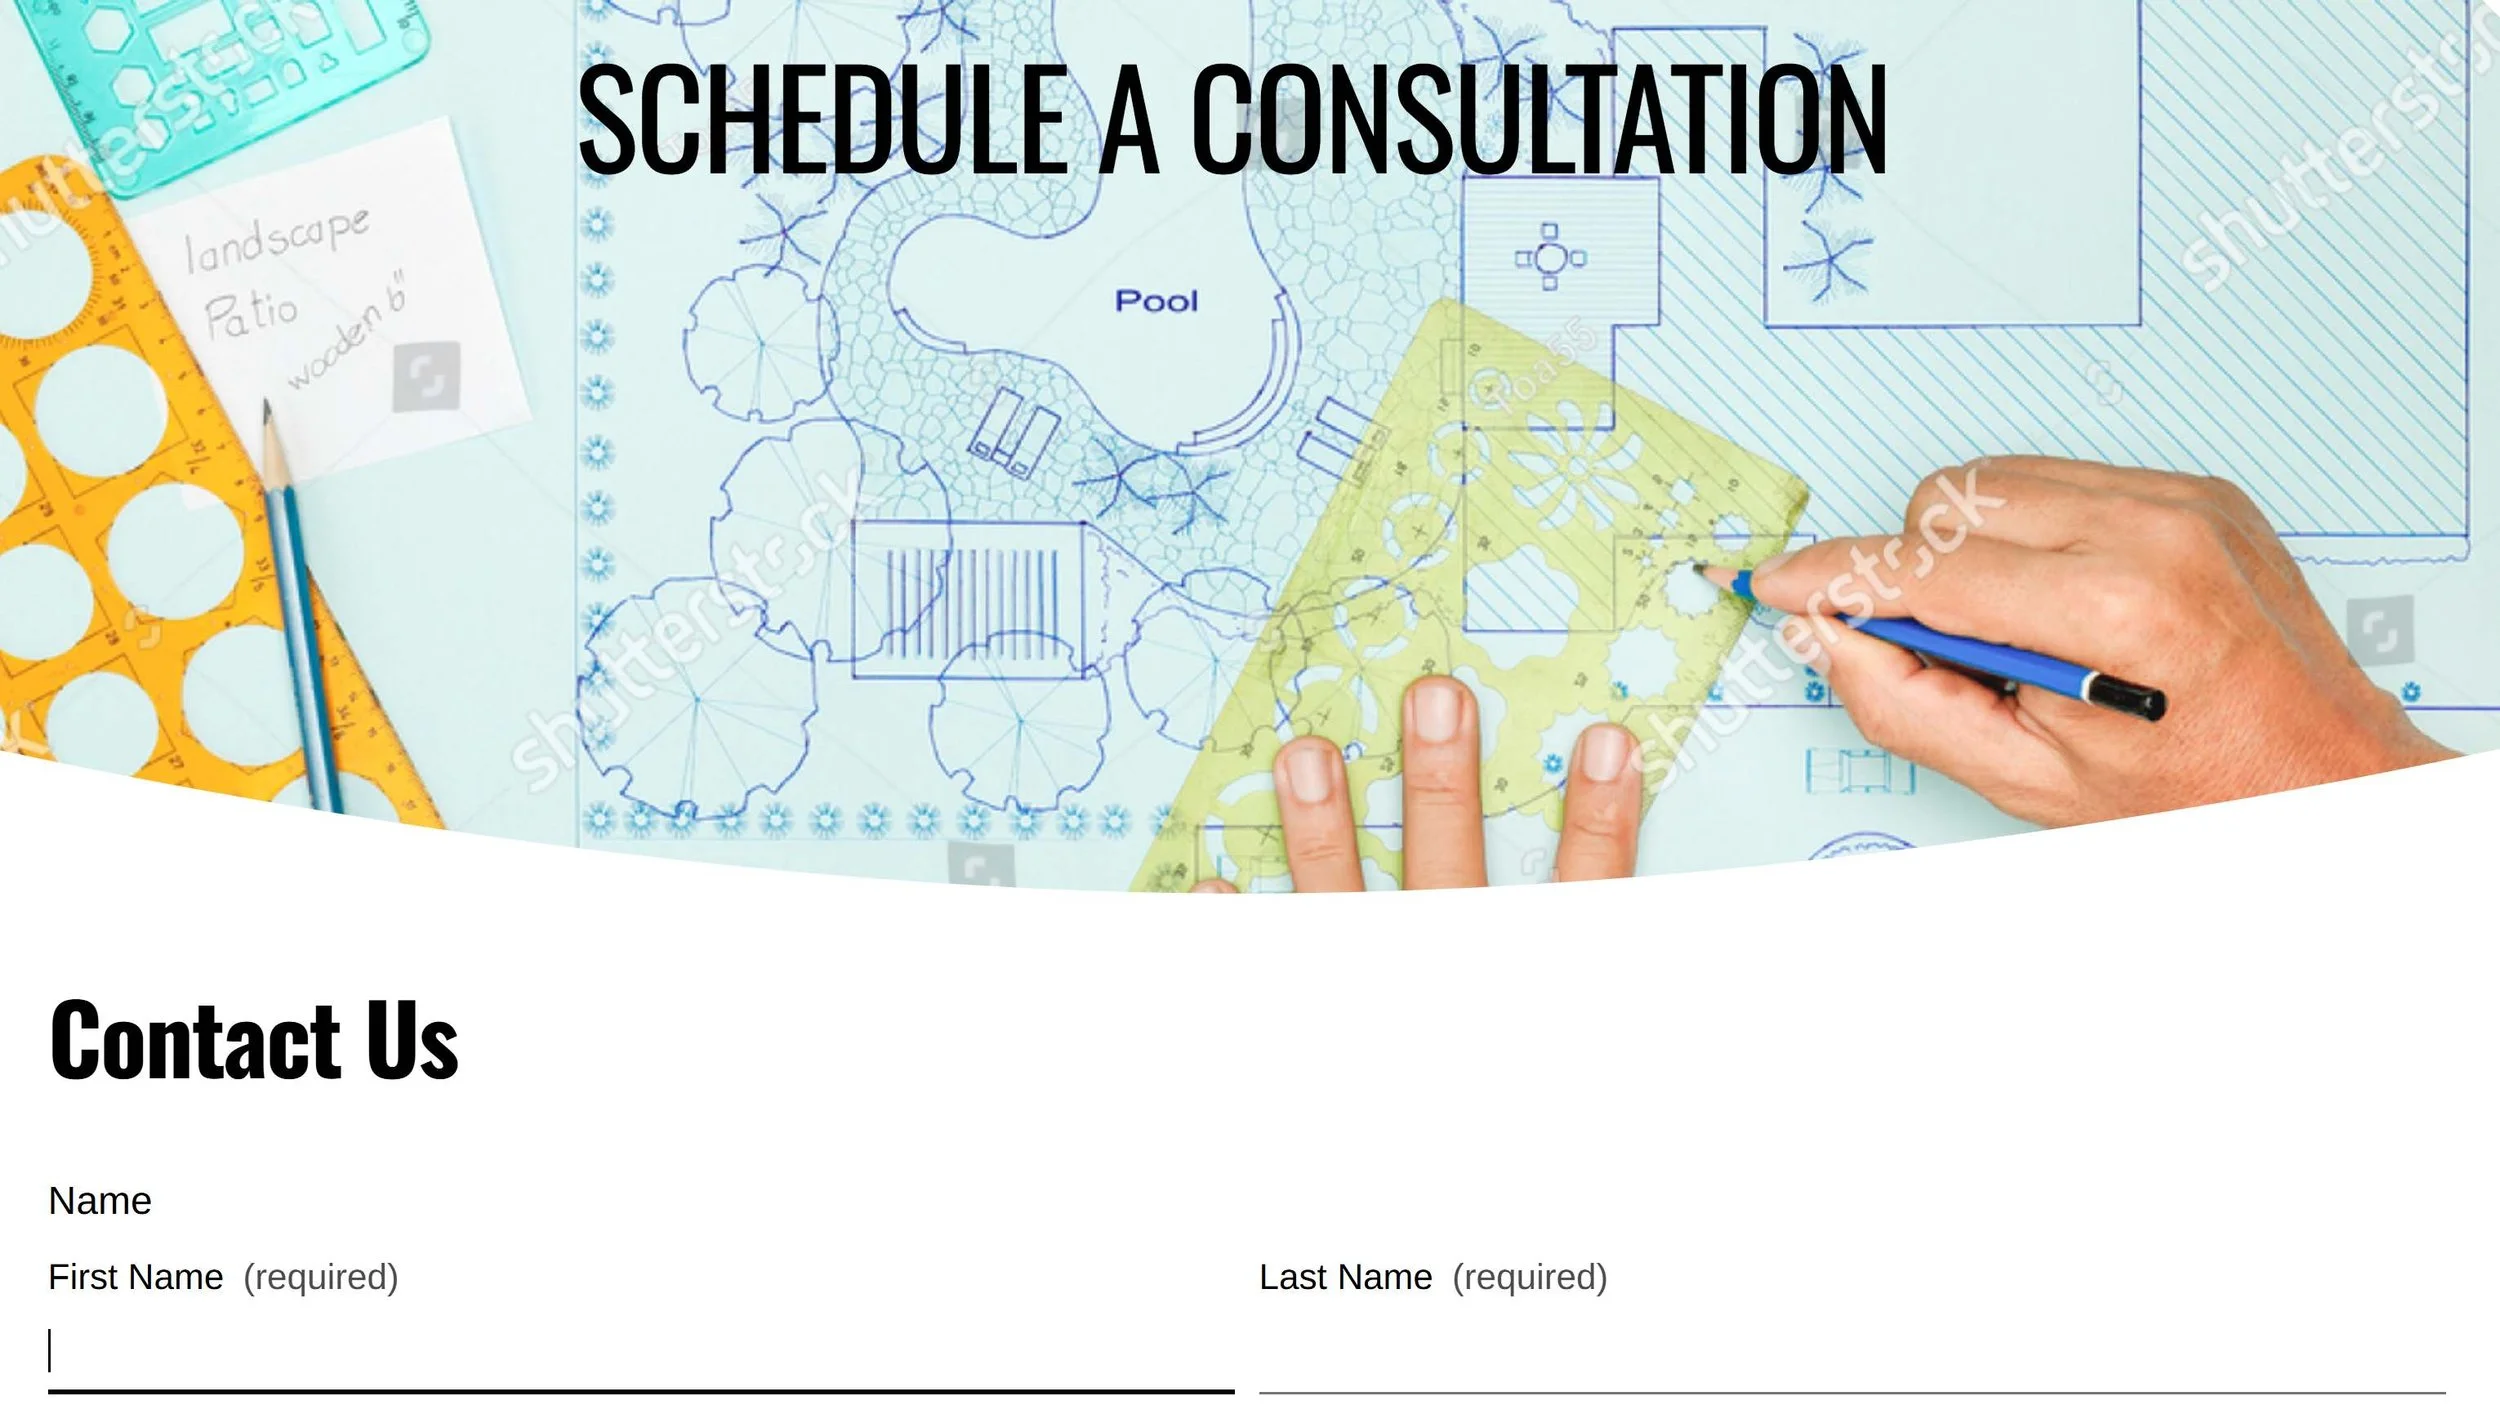
Phase I – Schedule a Consultation
To begin your retaining wall project, contact Creative Landscape by Design by clicking one of the “Schedule a Consultation” buttons located throughout our website. Complete the required information, and a member of our team will reach out to schedule an on-site consultation.
Phase II – Retaining Wall On-Site Consultation
One of our sales representatives from Creative Landscape by Design, often the owner, bringing over 30 years of hands-on experience, will meet with you at your property. During this visit, we’ll evaluate grade changes, drainage conditions, and soil composition while discussing wall height, layout, material options, budget, and the overall goals of your retaining wall project.

Retaining Wall On-Site Consultation
Evaluate property grade changes and elevation challenges
Assess drainage conditions and water flow concerns
Review soil composition and site stability
Discuss retaining wall height and layout options
Explore material choices (block styles, colors, finishes)
Talk through budget expectations and value options
Understand the overall goals and function of your retaining wall project
PHASE III-Picking the Right Wall Materials for Your Project
Versa-Lok & Pisa 2 Retaining Wall Systems
Creative Landscape by Design installs both Versa-Lok and Pisa 2 retaining wall systems to provide durable, long-lasting solutions for residential and commercial landscapes. Both systems offer engineered strength, design flexibility, and professional finishes, making them ideal for a wide range of wall heights, curves, and functional applications.
Versa-Lok Advantages
Each block weighs 88 lbs. for superior stability
Interlocking design ensures long-term structural integrity
Ideal for taller walls with geogrid reinforcement
Consistent sizing delivers precise alignment and
professional finish
Available in multiple colors, textures, and cap styles
Pisa 2 Advantages
Each block weighs 45 lbs. for easier handling and faster I
installation
Allows tighter radius curves for flexible layouts
Compatible with geogrid for walls over 4 feet
Tapered design ensures smooth transitions and clean lines
Variety of colors textures, and cap options
Natural Boulders & Barn Stone Retaining Walls
Creative Landscape by Design provides Natural Boulders and Barn Stone retaining walls for homeowners and businesses throughout Northeast Ohio. These stone walls combine durability and timeless beauty, making them ideal for managing slopes, preventing erosion, and transforming underutilized outdoor spaces into functional, visually striking areas. Whether you want a rugged, natural look with boulders or a classic, hand-laid appearance with barn stone, our team ensures your wall is both strong and aesthetically appealing.
Natural Boulders Advantages
Massive, naturally shaped stones provide exceptional strength
Ideal for larger grade changes and erosion control
Labor costs often lower due to faster installation with heavy equipment
Blends seamlessly into natural landscapes
Extremely durable against freeze-thaw cycles and heavy weather
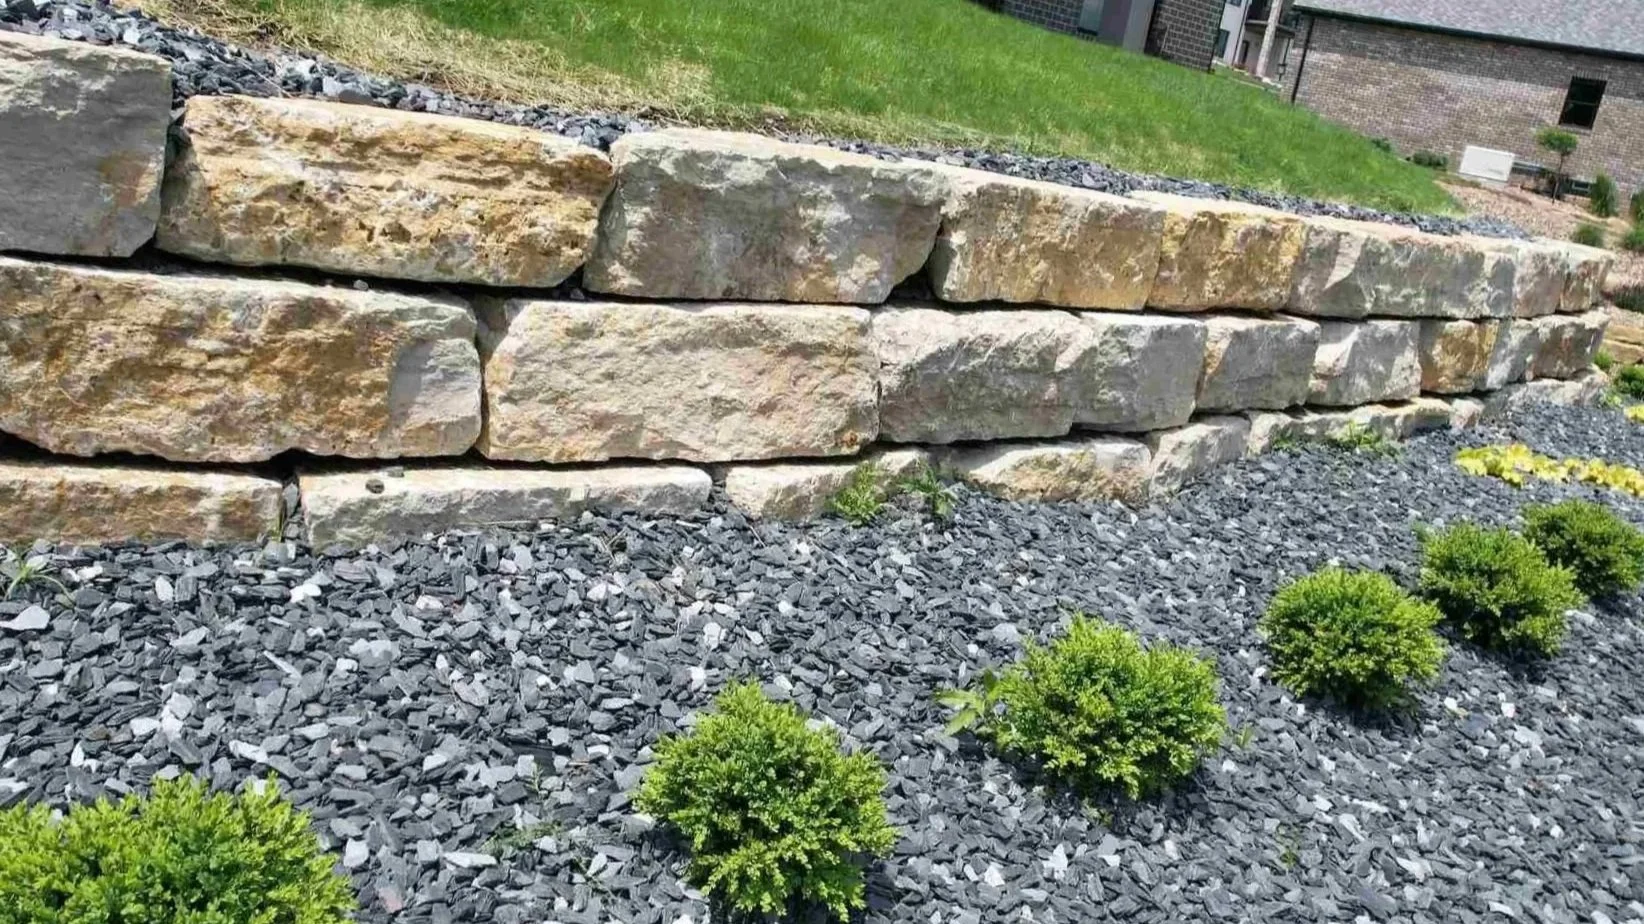
Barn Stone Advantages
Classic, rustic appearance for short to medium-height walls
Can be dry-stacked or mortared for custom looks
Labor costs often lower due to faster installation compared to small modular blocks
Tight joints create clean lines while maintaining natural stone character
Highly durable and weather-resistant for Northeast Ohio conditions
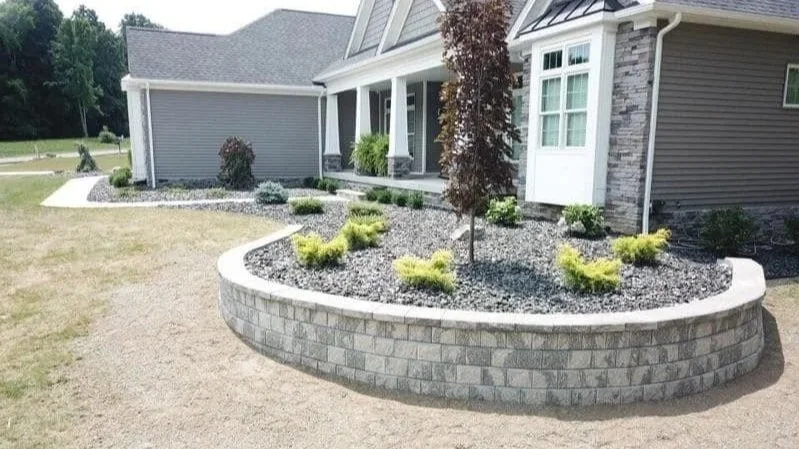
Country Stone or Brussels Block for Knee Walls
A knee wall is a low, non-structural landscape wall typically used to define spaces, create subtle elevation changes, and add visual structure to outdoor areas. Unlike taller retaining walls, knee walls are not designed to hold back significant soil pressure but instead serve a functional and decorative purpose. Commonly used as seating walls, landscape borders, or transitions along patios and walkways, knee walls enhance usability while providing a finished, cohesive look to the landscape design.
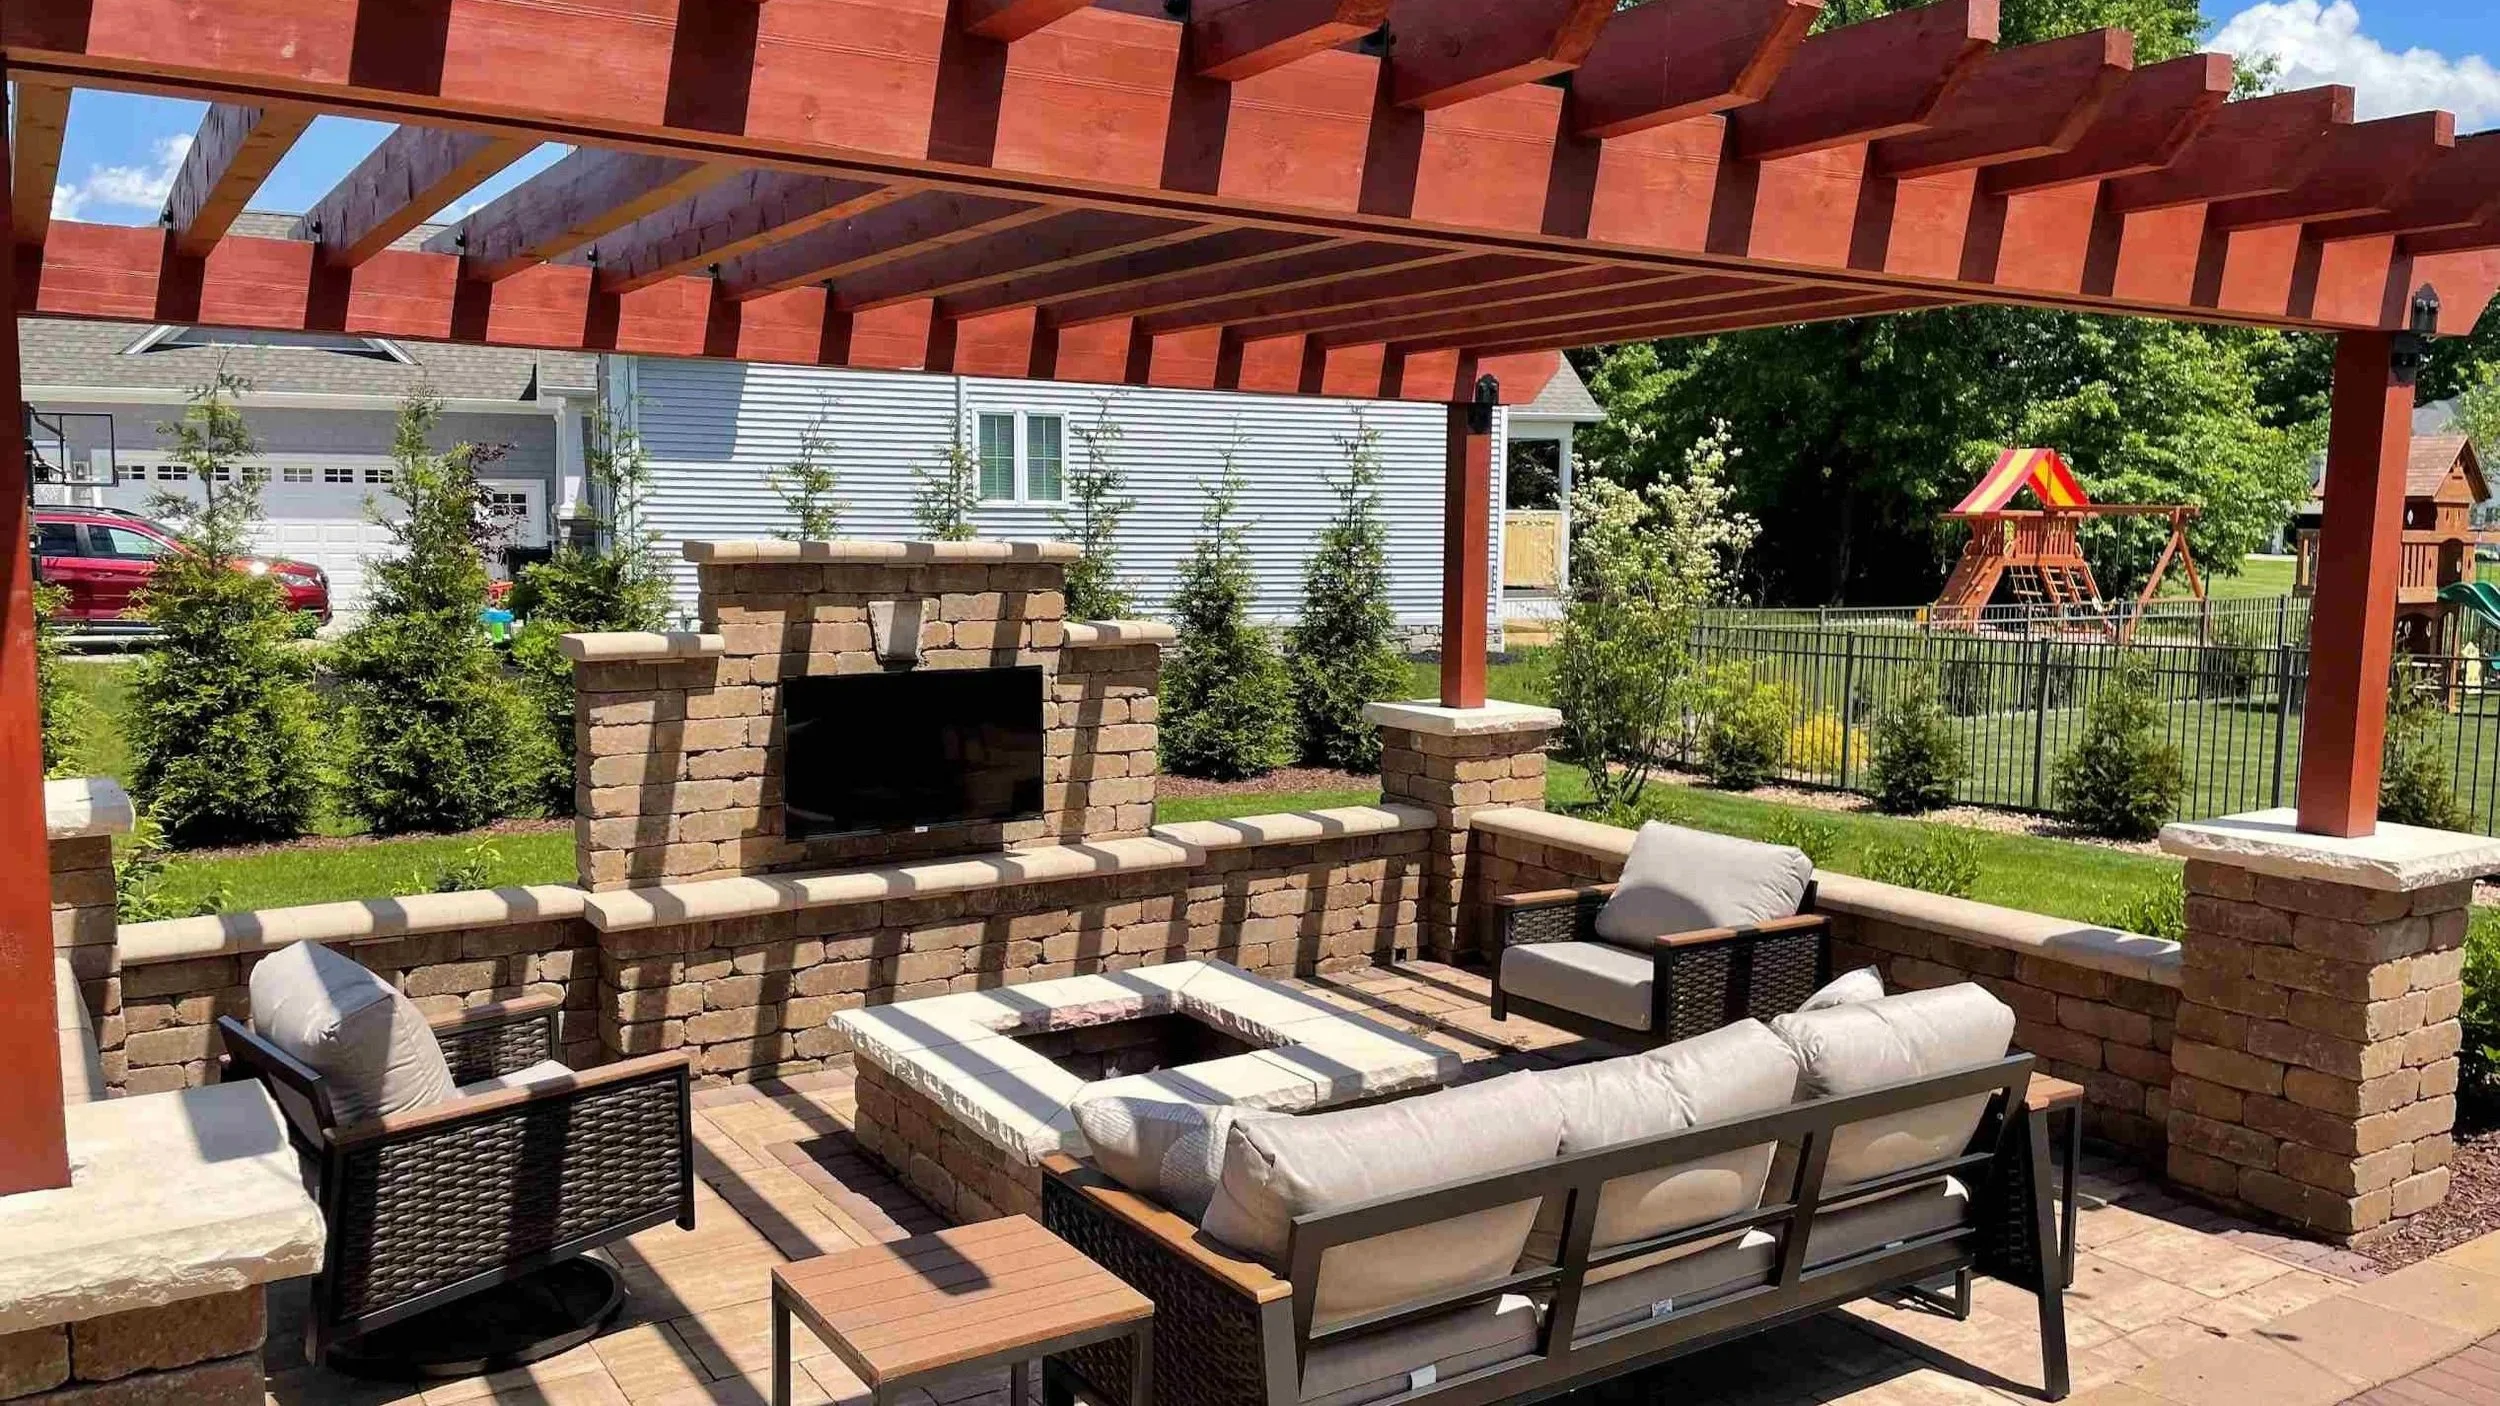
Advantages of Using Country Stone or Brussels Block for Knee Walls
Perfect for knee walls, seating walls, and landscape borders
Tight radius curves possible for custom designs
Lightweight blocks allow faster, lower-labor installation
Clean, decorative appearance with multiple colors and textures
Durable and engineered for freeze-thaw cycles in Northeast Ohio
Ideal for aesthetic definition and usability without major structural load
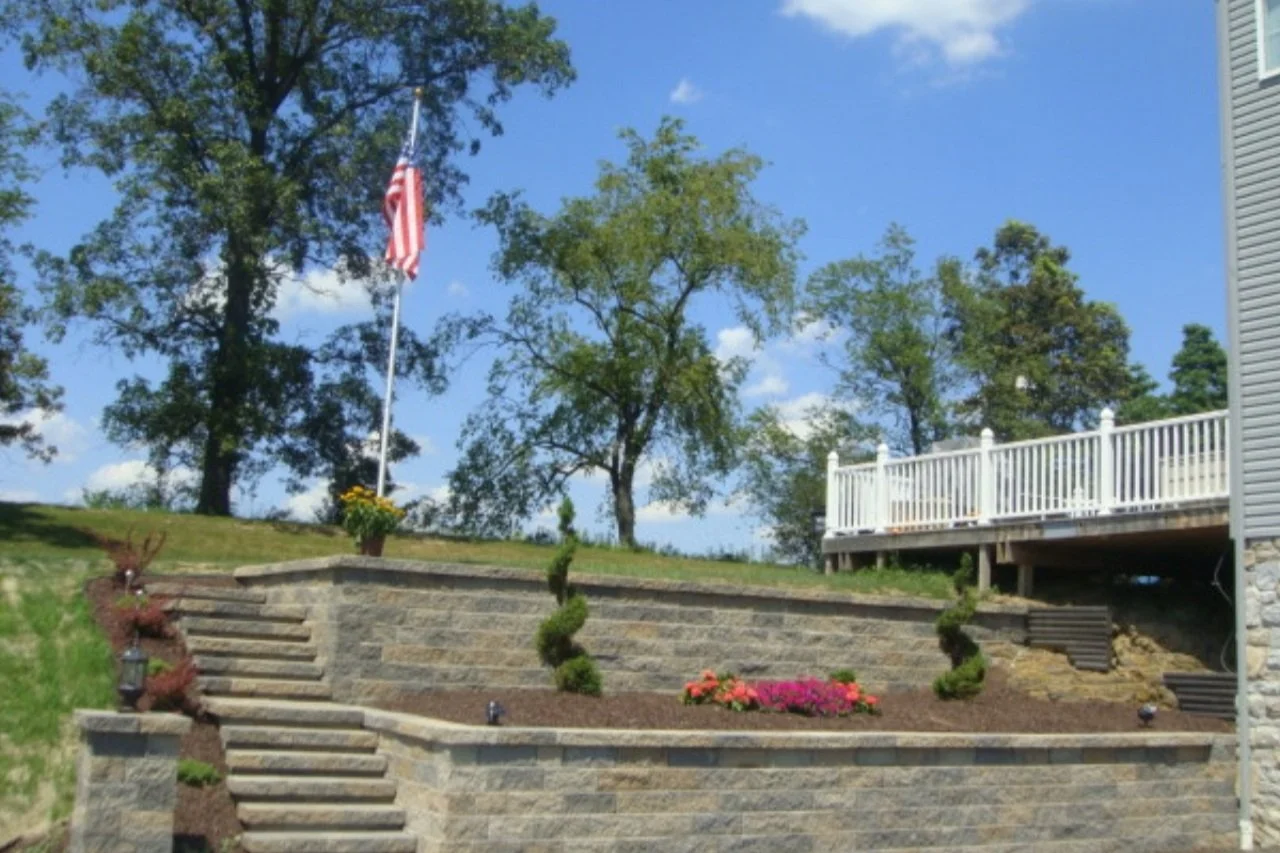
Man-Made Hillside Steps
Creative Landscape by Design designs and installs man-made hillside steps to safely and efficiently navigate slopes while enhancing your landscape. These steps make previously unusable or steep areas functional, creating pathways that are both practical and visually appealing. Built to blend seamlessly with natural terrain, they provide a natural, integrated look that complements your yard or garden while helping prevent erosion.
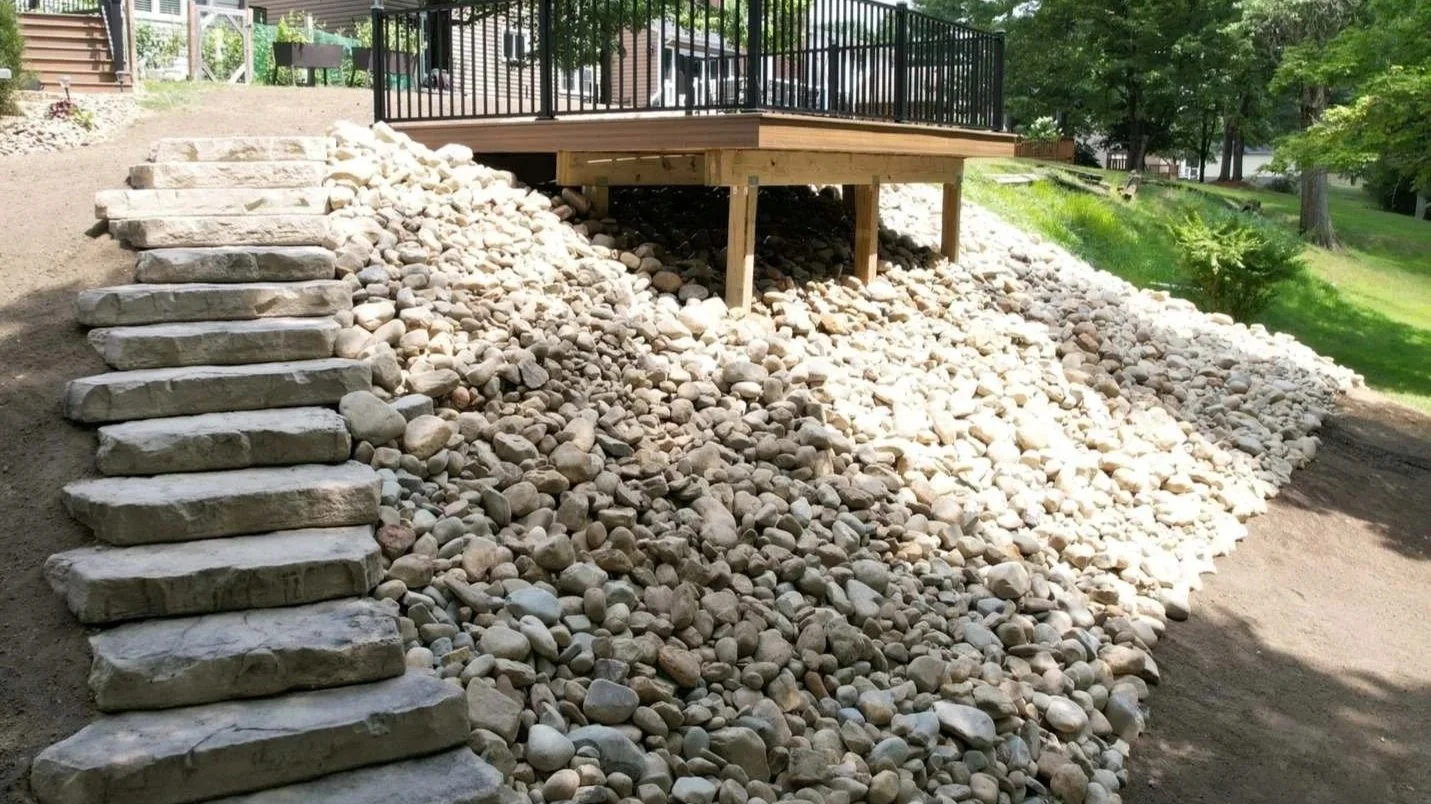
Benefits of Man-Made Hillside Steps
Provides safe and stable access on sloped terrain
Makes steep or uneven areas functional and usable
Helps prevent soil erosion and protect landscaping
Customizable design with a natural, integrated appearance
Can be built with a variety of materials, including natural stone, modular blocks, or timber
Enhances both functionality and aesthetic appeal of your outdoor space
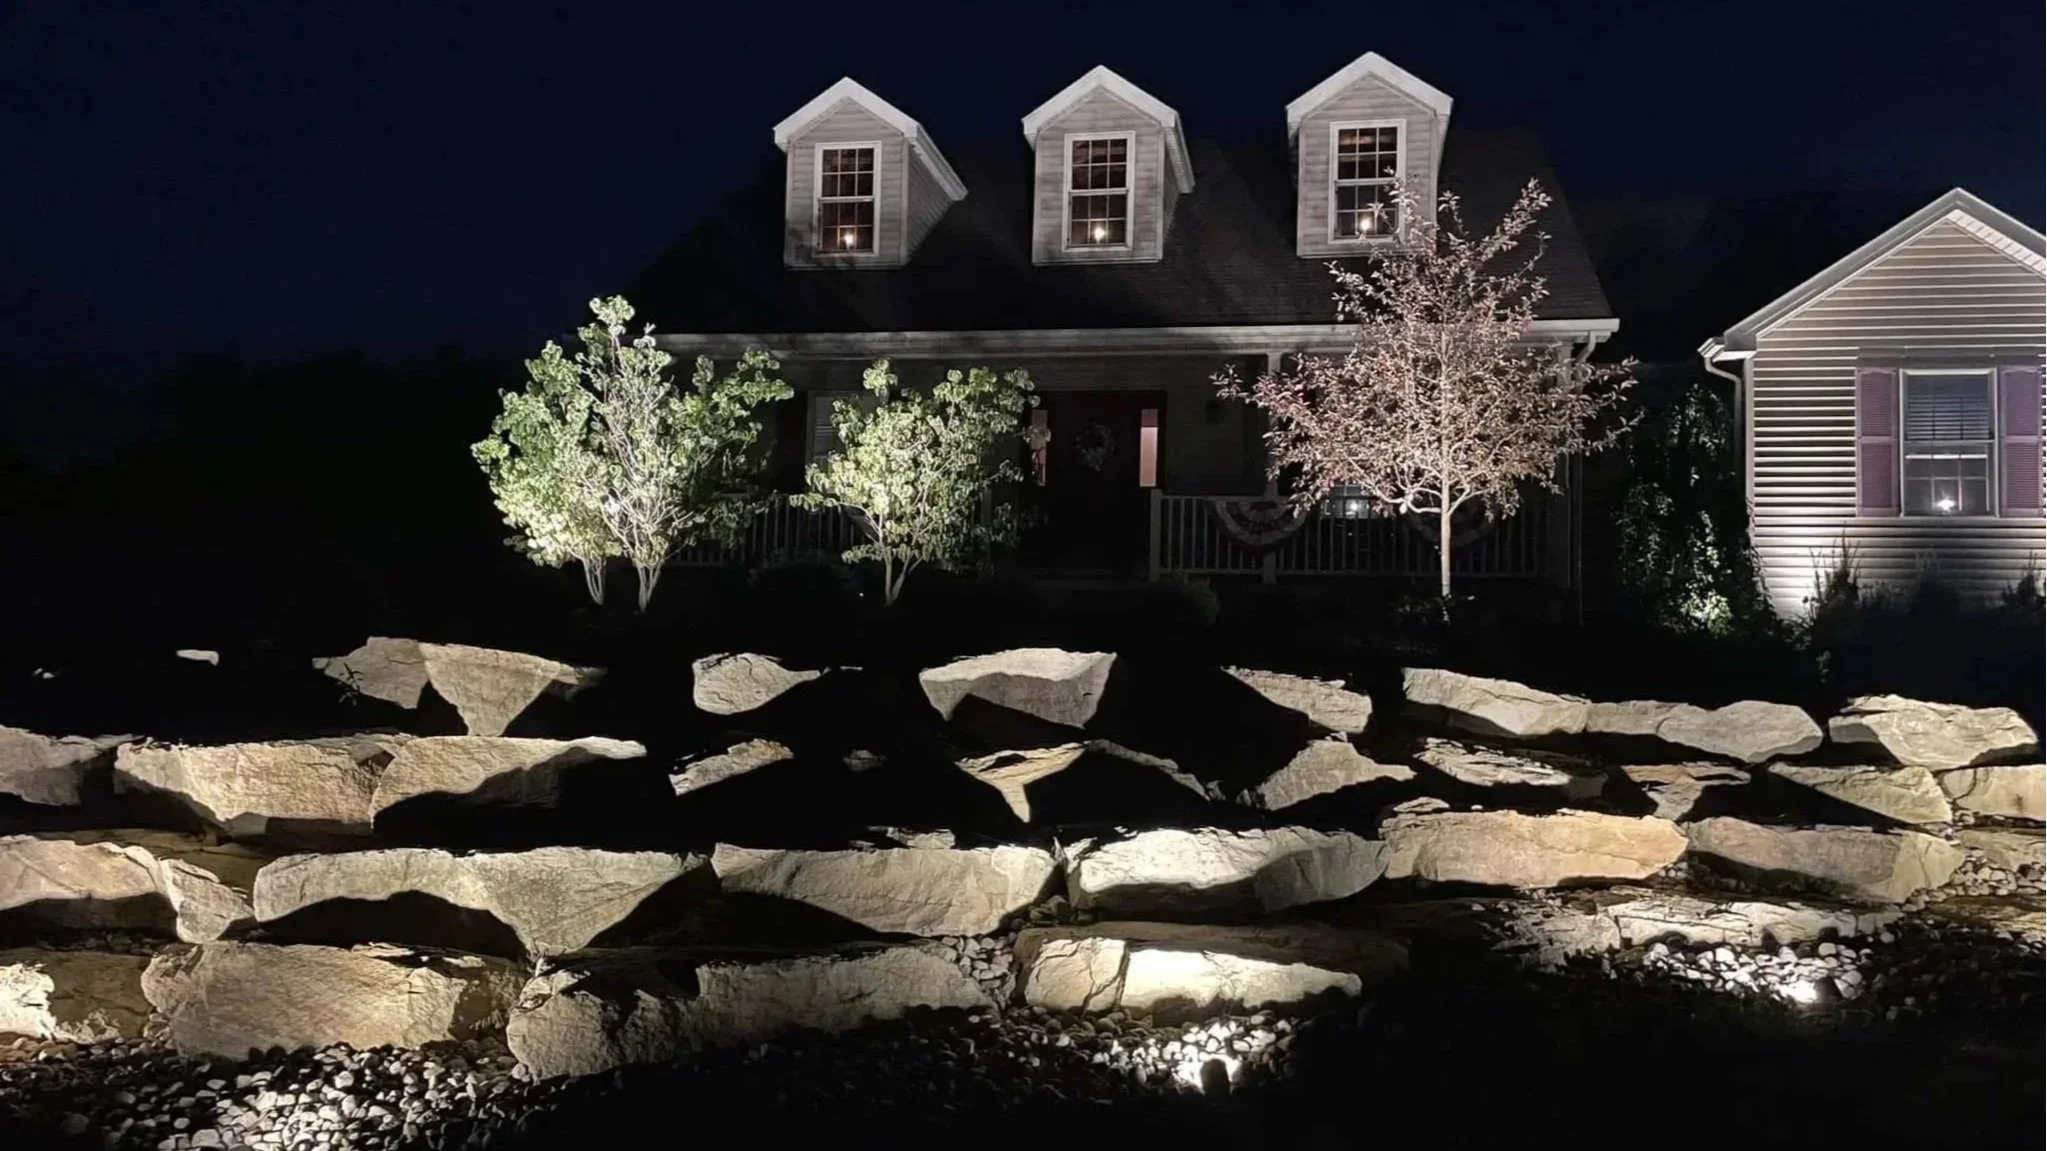
Pillars & Under-Cap Lighting
Pillars with under-cap lighting add both style and function to your outdoor spaces. At Creative Landscape by Design, we design and install decorative pillars that highlight walkways, driveways, and retaining walls, while integrated under-cap lighting provides subtle, elegant illumination. This combination enhances safety, extends usability into the evening, and adds a sophisticated visual touch to your landscape.
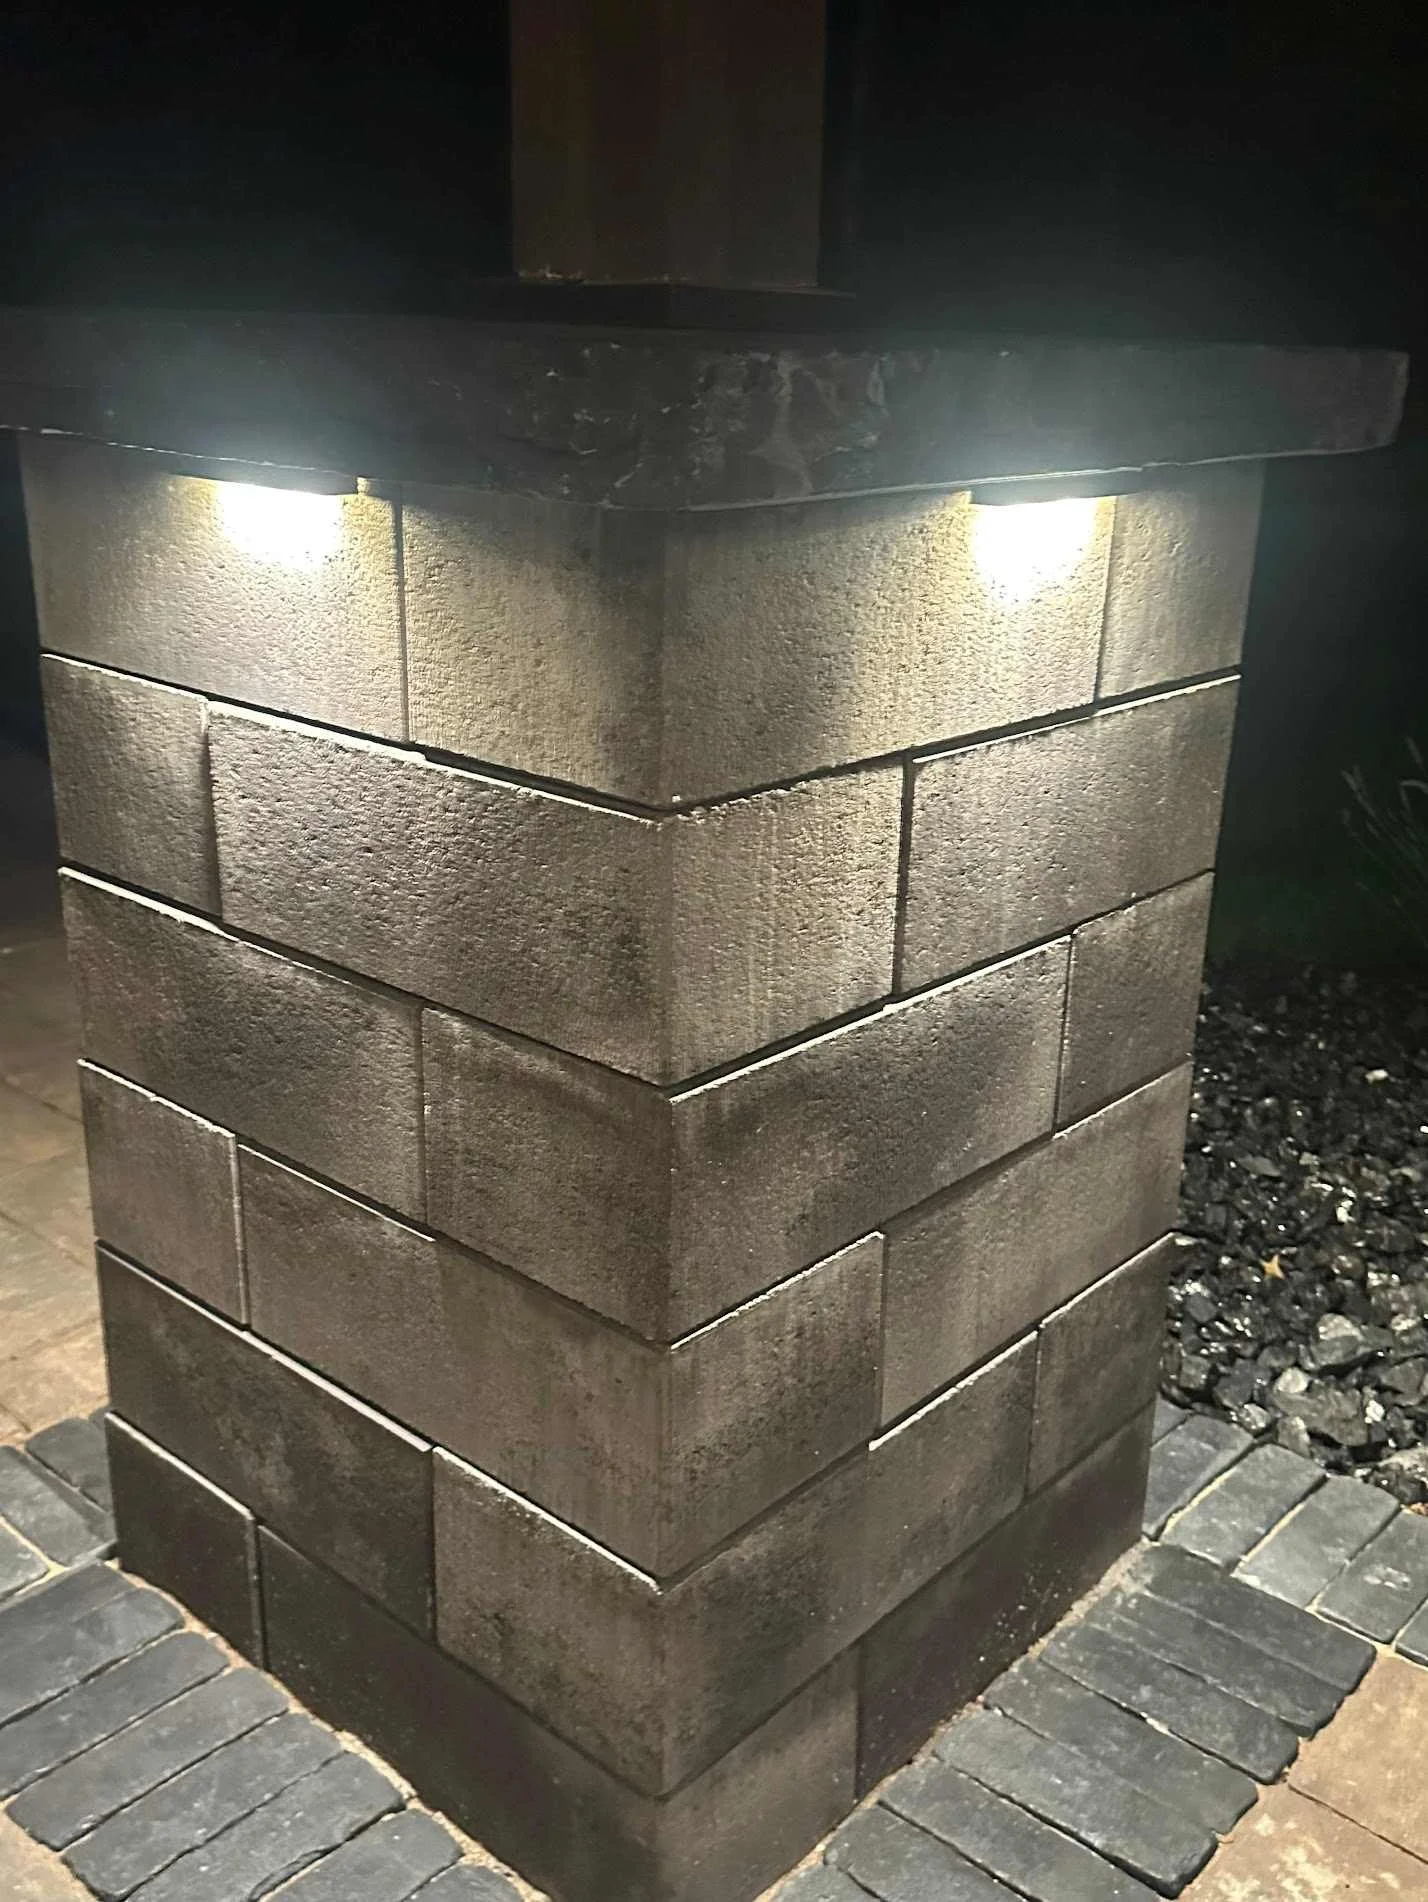
Benefits of Pillars & Under-Cap Lighting
Adds elegant visual appeal to retaining walls, walkways, and driveways
Provides subtle illumination for safety and nighttime usability
Highlights landscape features and architectural elements
Creates a welcoming ambiance for outdoor spaces
Enhances property value with functional, decorative lighting
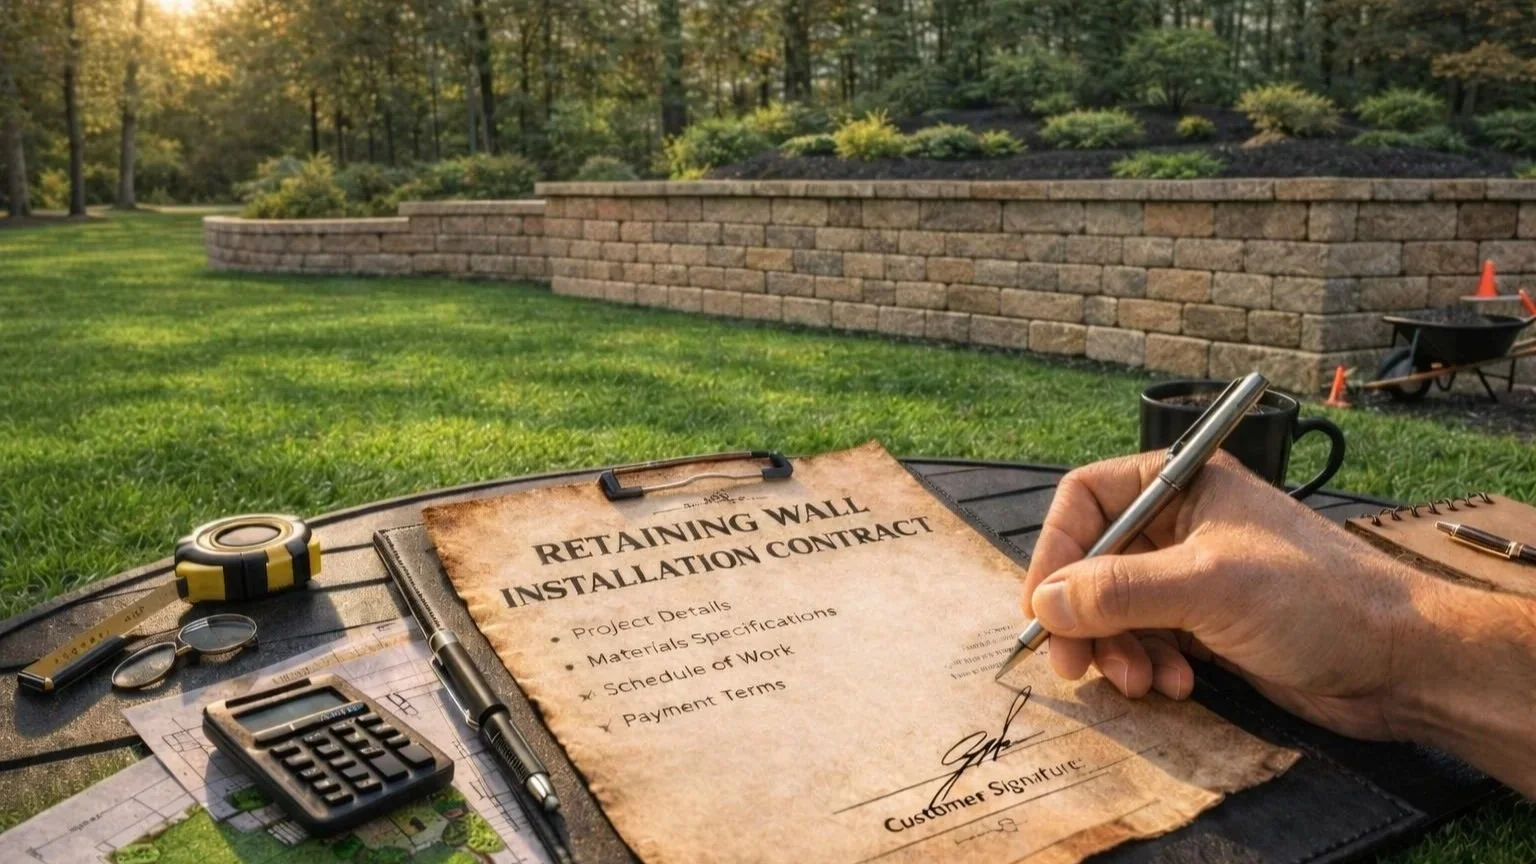
Phase IV – Project Pricing & Design
Following the on-site consultation, Creative Landscape by Design will provide detailed pricing based on wall height, length, material selection, site conditions, drainage requirements, and any necessary reinforcement such as geogrid. For retaining walls over 4 feet in height, additional costs for engineered drawings and permits may apply, ensuring your wall meets all structural and safety requirements.
Project Pricing & Design
Provide detailed project pricing after the on-site consultation
Pricing based on wall height and total length
Factor in material selection (block type, color, style)
Consider site conditions and accessibility
Include drainage requirements and backfill needs
Account for reinforcement such as geogrid when required
Note additional costs for walls over 4 feet in height
Possible engineered drawings and permit requirements
Ensure the retaining wall meets all structural and safety standards
Phase V – Scheduling & Obtaining Permits
Once the required deposit is received, your retaining wall project will be placed on our installation schedule. Creative Landscape by Design will handle coordinating the timeline and securing any necessary permits, as well as obtaining engineered drawings when required. This ensures your project meets all local regulations and structural standards before construction begins.
Scheduling & Obtaining Permits
Project added to installation schedule after required deposit is received
Coordinate project timeline and upcoming installation window
Handle securing any necessary local permits
Obtain engineered drawings when required
Ensure compliance with local codes and regulations
Verify all structural requirements are met prior to construction
Prepare project for a smooth and organized installation process
Phase VI – Construction Process
Our skilled team will prepare the site and begin construction following industry best practices. This includes proper excavation, base preparation, drainage installation, and reinforcement when necessary. Each retaining wall is built to precise specifications to ensure long-term stability, prevent settling or movement, and withstand Northeast Ohio’s freeze-thaw conditions. Attention to detail during construction is critical for both safety and aesthetics, ensuring your retaining wall performs beautifully for years to come.
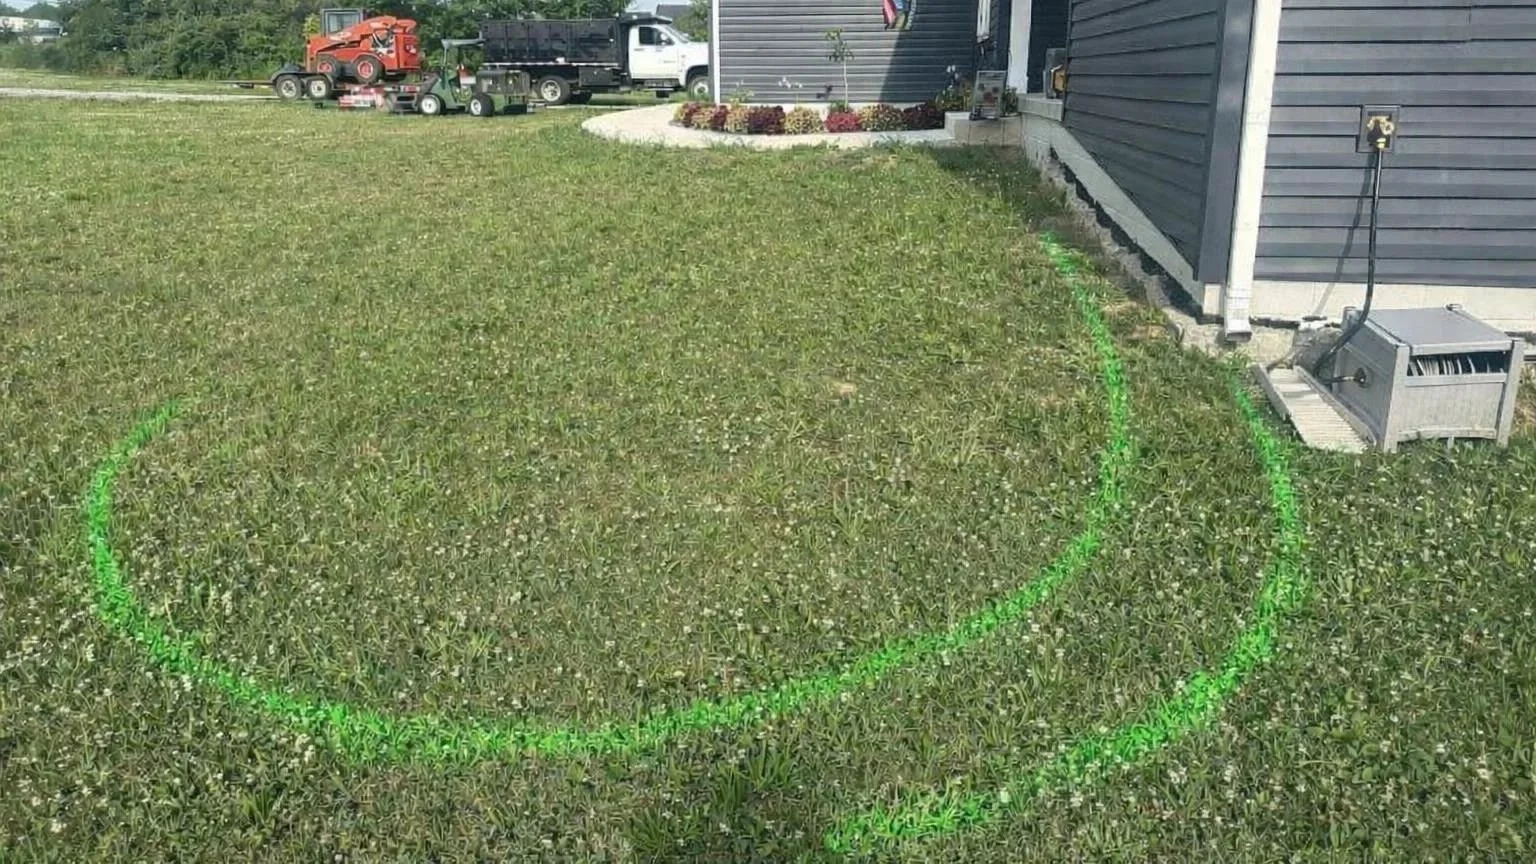
Final Layout & Grade Confirmation
Mark off excavation area using professional marking paint
Confirm final retaining wall layout and overall footprint
Verify wall location, length, and height transitions
Establish proper finished grades in front of and behind the wall
Confirm elevations at patios, driveways, steps, and structures
Ensure proper pitch for drainage and water runoff
Plan smooth transitions to existing landscaping or hardscapes
Contact Ohio Utilities Protection Service (Call Before You Dig) to locate public utilities
Public utility markings include gas, electric, water, cable, and phone lines
Customer responsible for identifying private or unmarked utilities prior to construction
Examples include invisible fence, well lines, septic, irrigation, geothermal, or private electric
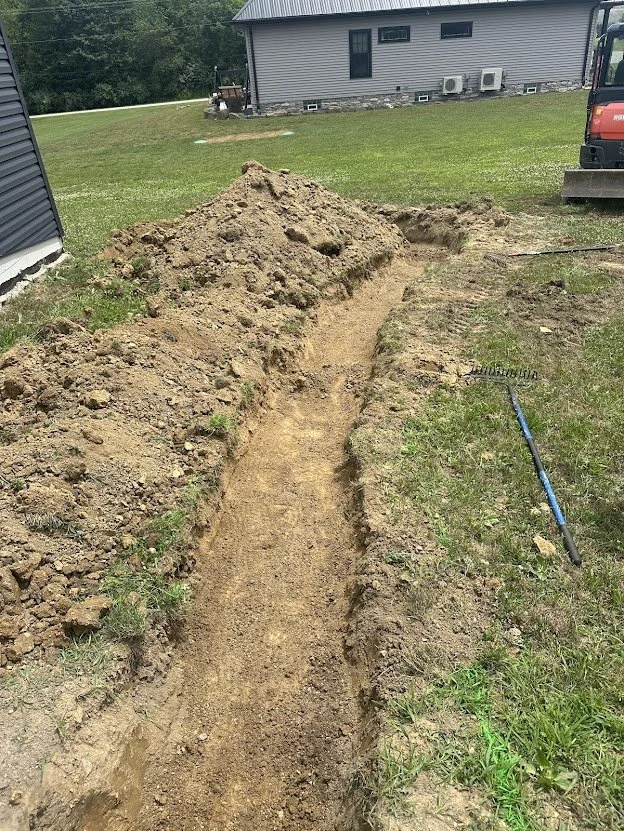
Excavation
One of the most critical steps in the entire patio installation process
Identification and correction of soft or unstable subgrade areas
Installation of geotextile fabric when conditions require added stability
Proper excavation allows for deep base installations when needed
Many projects utilize 10–15 inches of compacted base material
Often installed using multiple slag sizes to improve drainage and stability
Designed to prevent settling and support long-term patio performance
Proper tamping of aggregate for a solid base
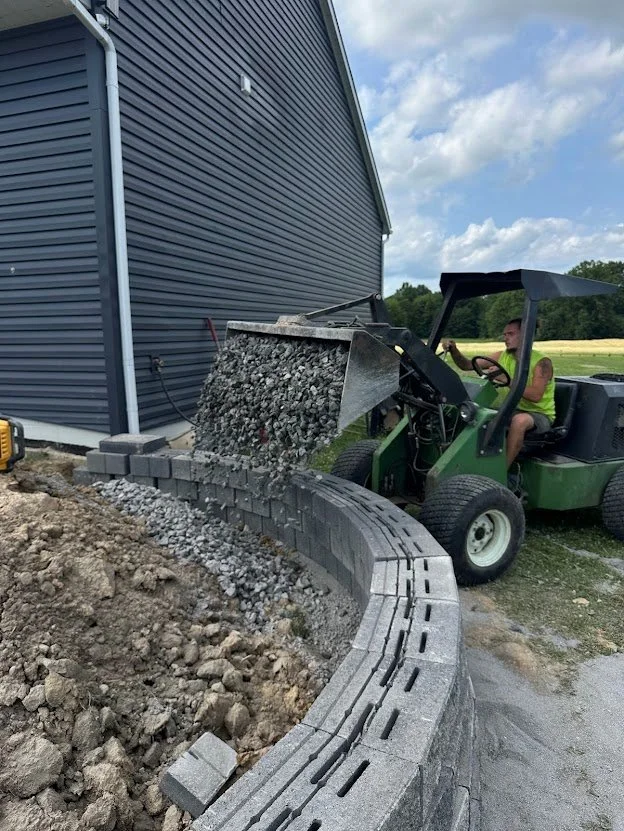
Retaining Wall Construction & Drainage Installation
Set first course of retaining wall block with precision
Check alignment and level throughout installation
Install clean drainage aggregate behind the wall
Use proper stone (clean #57 or similar) for drainage flow
Add perforated drain tile where required
Direct drainage to appropriate discharge locations
Install geogrid reinforcement for larger or taller walls
Extend geogrid into compacted backfill per manufacturer specifications
Compact backfill in lifts to ensure long-term stability
Install additional courses with proper setback as designed
Maintain consistent alignment and clean block joints
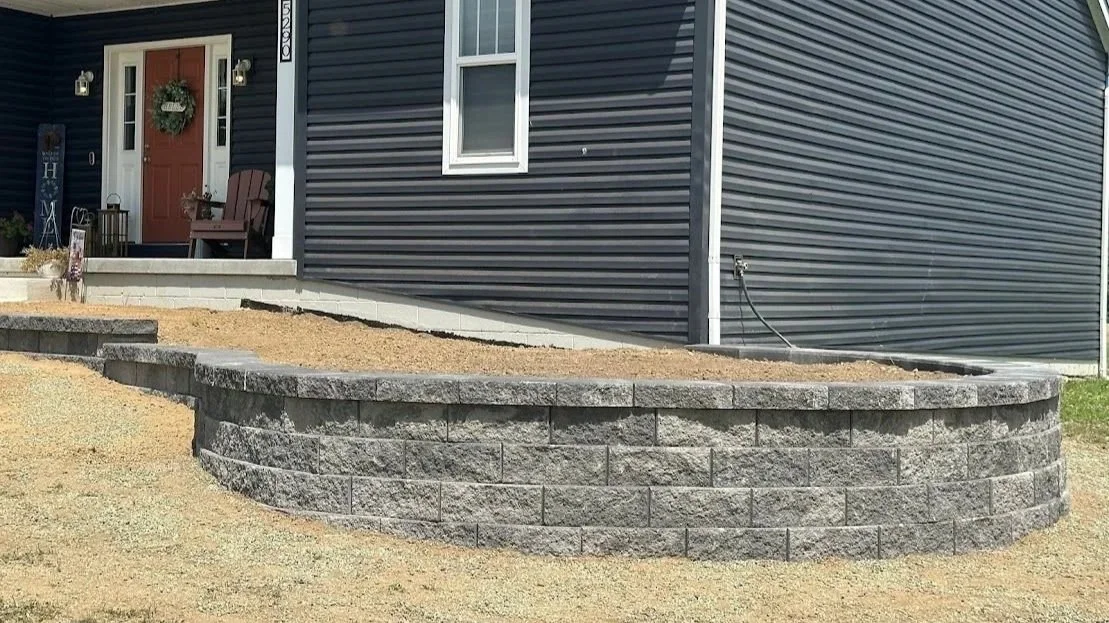
Wall Finishing, Landscaping & Lawn Restoration
Install retaining wall caps for a clean, finished appearance
Secure caps using professional-grade adhesive
Check final wall alignment and visual consistency
Blend wall edges into surrounding landscape areas
Regrade disturbed soil for smooth transitions
Install topsoil where needed for proper lawn recovery
Repair any lawn areas affected during construction
Seed, hydroseed, or sod disturbed turf areas as needed
Rake and level surrounding ground for a natural look
Clean excess stone, soil, and debris from landscape beds
Ensure proper drainage away from wall and lawn areas
Leave the project area clean, polished, and ready to enjoy
Phase VII – Project Completion & Final Walkthrough
Upon completion of your retaining wall installation, a representative from Creative Landscape by Design will walk the project with you to ensure all details meet your expectations. During the final walkthrough, we review wall alignment, drainage performance, and overall craftsmanship, and discuss future enhancements such as additional wall phases, steps, lighting, or landscape integration.
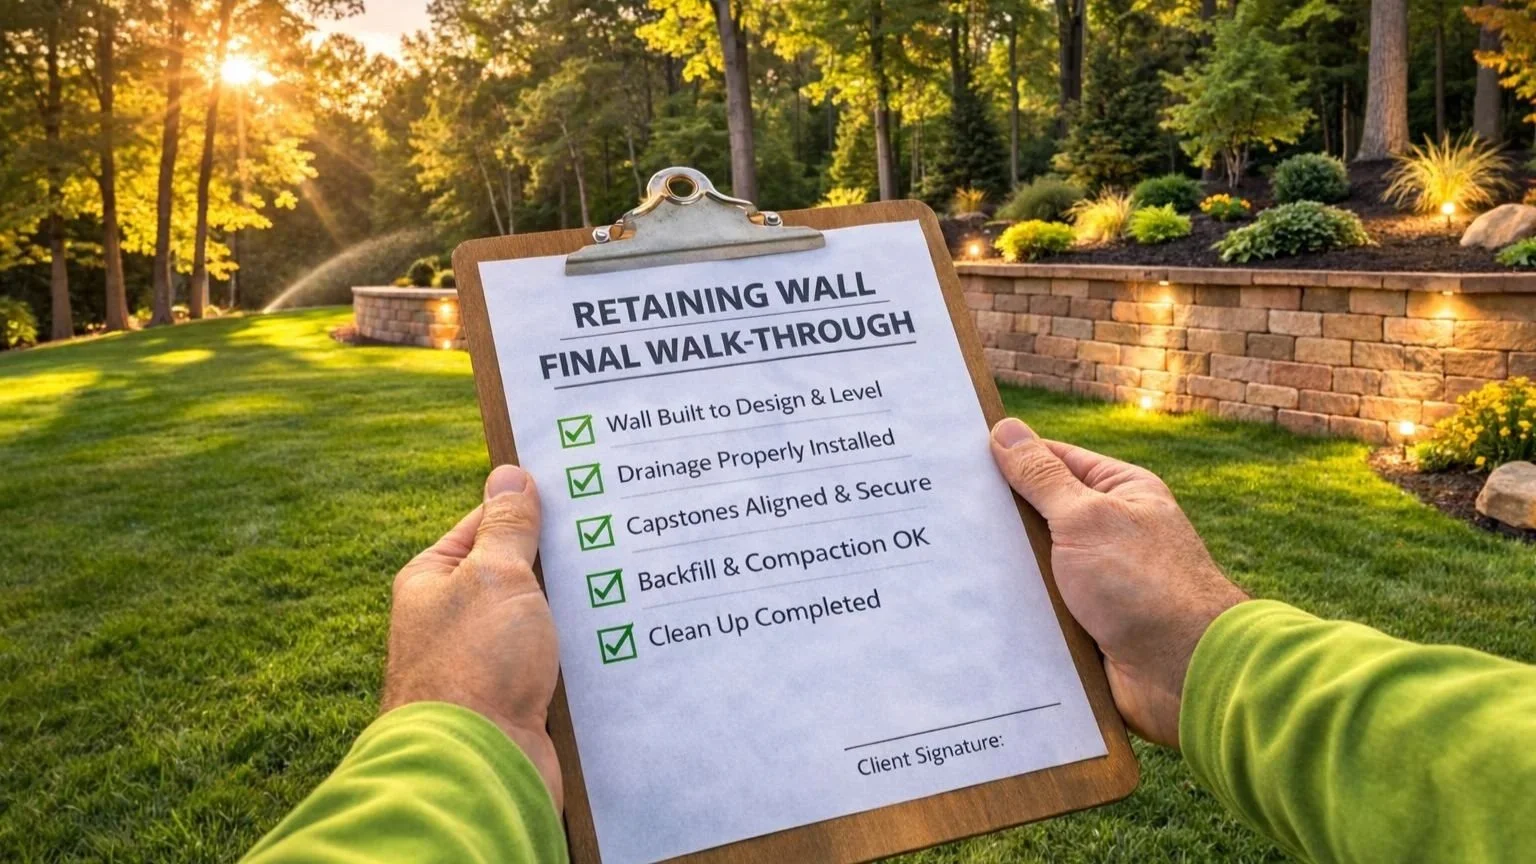
Retaining Wall Final Walkthrough
Walk the project with homeowner upon completion
Review overall wall appearance and alignment
Confirm wall height, layout, and finished elevations
Inspect caps for proper fit and secure installation
Verify drainage components and water flow direction
Check transitions to lawn, patios, driveways, or beds
Review repaired or restored lawn areas
Address any final touch-ups if needed
Answer homeowner questions about wall care and longevity
Provide basic maintenance recommendations
Ensure customer satisfaction before project closeout
Why Choose Creative Landscape by Design for Your Retaining Wall Project?
When it comes to building retaining walls in Mahoning County, Trumbull County, Columbiana County, and surrounding areas, Creative Landscape by Design stands out for experience, quality, and reliability. With over 30 years of hands-on expertise, we combine precision engineering, top-quality materials, and industry best practices to deliver retaining walls that are both structurally sound and visually stunning. From design and permits to construction and final walkthrough, we manage every step of the process to ensure your project meets local regulations, withstands Northeast Ohio’s weather, and enhances the usability and beauty of your property. Trust us to transform your sloped or uneven spaces into functional, long-lasting outdoor areas that add value and curb appeal to your home or business.
BOARDMAN
CANFIELD
AUSTINTOWN
POLAND
NORTH JACKSON
COLUMBIANA
SALEM
LAKE MILTON
Berlin center
Howland
Niles
Mineral Ridge
Lordstown
McDonald
Liberty
Struthers
WARREN
CORTLAND
GIRARD
HUBBARD
SPRINGFIELD
LOWELLVILLE
SURROUNDING AREAS OF YOUNGSTOWN